When I first started creating DIY visual supports for Ava, I honestly thought I could simply print the cards on regular paper, cut them out with scissors, and be done. I quickly realized there was a huge difference between something that works temporarily and something that actually holds up to daily real-life use.
After a lot of trial and error, wasted money, frustrating mistakes, crooked cutting, peeling Velcro, jammed laminators, and flimsy paper, I finally found a simple setup that works well for us at home.
This post is not meant to feel salesy. These are simply the tools we personally use and continue to come back to because they made creating printable PCS cards, visual schedules, communication cards, and DIY visual supports much easier, more durable, and less overwhelming.
If you recently purchased printable PCS cards or digital visual supports and are wondering where to begin, I hope this helps save you some time, money, and frustration.
The Printer We Use
One of the biggest frustrations for me was constantly running out of ink. We print visual supports often, and it felt like every time I needed to print something important, the printer was low or completely out of ink.
What I personally like about HP is the HP Instant Ink program. Through the HP app, they monitor your ink levels automatically, and before you run out, replacement ink cartridges are shipped directly to your mailbox. I no longer have to constantly keep track of ink myself or make last-minute trips to the store.
Ink is expensive, so having a monthly plan that works for your printing needs helped simplify things for me. New customers also usually receive free months of ink to start, and the membership is easy to manage online.
For our setup, this ended up being much easier and less stressful long-term.
The Laminator Setup That Worked Best For Us
SCOTCH 3 MIL LAMINATING POUCHES
After testing different laminators and laminating sheets, this is the combination that consistently worked best for us.
I specifically prefer the Scotch laminator because:
- it is easy to use
- it does not jam often
- it has a release button
- it works extremely well with Scotch laminating sheets
The biggest thing I learned was the difference between 3 mil and 5 mil laminating pouches.
At first, I assumed thicker meant better, so I tried 5 mil pouches. The problem was that when using cardstock paper with a standard at-home laminator, the finished cards became too thick. Once I started cutting them, the laminate would sometimes begin pulling apart from the edges.
After a lot of testing, I found that:
Scotch 3 mil pouches + cardstock + the Scotch laminator
worked best together.
The cards still come out durable and sturdy without becoming too thick for everyday home laminating.
Another reason I stick with Scotch is because their laminating pouches are almost always easy to find and often on sale online.
Why I Strongly Recommend Cardstock
Regular copy paper simply did not work well for us long-term.
The cards felt:
- flimsy
- thin
- cheap-looking
- easy to crumple
Once Velcro was added, regular paper started pulling apart very quickly.
Cardstock made a huge difference.
It creates visual supports that feel:
- sturdier
- more durable
- easier to handle
- longer lasting
And honestly, you do not need expensive name-brand cardstock either. We use the Amazon brand cardstock, and it works perfectly for our needs.
The Paper Cutter That Saved My Hands
I cannot overstate how much easier this made the process.
At first, I cut everything by hand using scissors. My hands were hurting constantly, and because I was freehand cutting, many of the cards came out crooked and uneven.
Once I switched to a paper cutter:
- cutting became much faster
- lines became cleaner and straighter
- prep work became less exhausting
If you plan to print visual supports regularly, this was absolutely worth it for us.
Why I Prefer These Velcro Dots
SELF-ADHESIVE HOOK & LOOP DOTS
This was another trial-and-error lesson I learned the hard way.
I specifically prefer the flat-sheet style Velcro dots instead of the large rolls.
At first, I thought buying the giant rolls would save money, but they actually became frustrating to work with over time. As you get deeper into the roll, the dots start curving, and I found that the adhesive stopped sticking well. Some would curl off the cards completely, and I ended up throwing away a large portion of the roll because they simply stopped working properly.
The flat-sheet style has worked much better for us because:
- the dots stay flat
- the adhesive stays stronger
- they are easier to peel and apply
- they arrive ready to use
- they are often less expensive than expected
For daily-use visual supports, durability matters a lot, and these held up much better for us over time.
Final Thoughts
Creating DIY visual supports at home can feel overwhelming at first, especially when you are trying to figure out what actually works and what is worth spending money on.
These are simply the tools that consistently worked best for us after a lot of real-life testing, frustration, and trial and error.
My goal in sharing this is not to pressure anyone into buying specific products. I simply know how exhausting it can feel trying to figure everything out on your own, especially when you are already balancing parenting, therapies, routines, and everyday life.
If this helps another parent skip some of the mistakes I made in the beginning, then it is worth sharing.
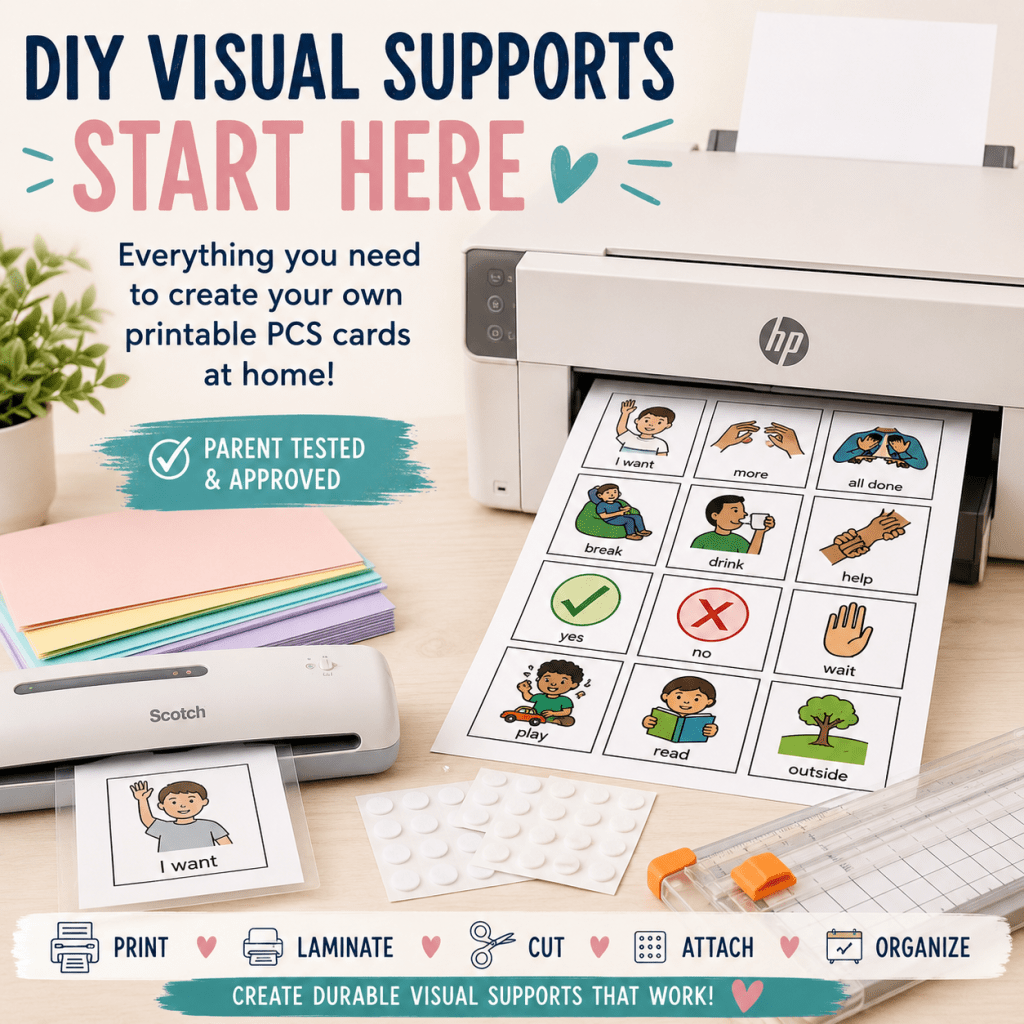
Quick DIY Visual Support Supply List
“This post contains affiliate links. As an Amazon Associate, I earn from qualifying purchases.”

Leave a comment